How to Roll a Good Joint: A Step-by-Step Guide for Smooth Smoke
Rolling a perfect joint is like riding a bike—you might wobble at first, but once you master the technique, it becomes second nature. Whether you’re rolling your first joint or just looking to refine your skills, this guide will walk you through the art of rolling a good joint, step by step.
We’ll cover:
- What tools you need
- Choosing the right cannabis
- Rolling techniques (classic cone vs straight roll)
- Tips for burning evenly
- Common mistakes to avoid
Check out How to Roll a Good Joint and Let’s get you rolling like a pro. 🌀
Why Rolling a Joint Is a Skill Worth Learning
Sure, you could use a bong, vape, or edible—but there’s something uniquely satisfying about rolling your own joint. It’s:
- Portable and easy to share
- Customizable in size and shape
- A ritual that adds to the cannabis experience
Plus, being the friend who can roll a beautiful joint at a party? Instant street cred.
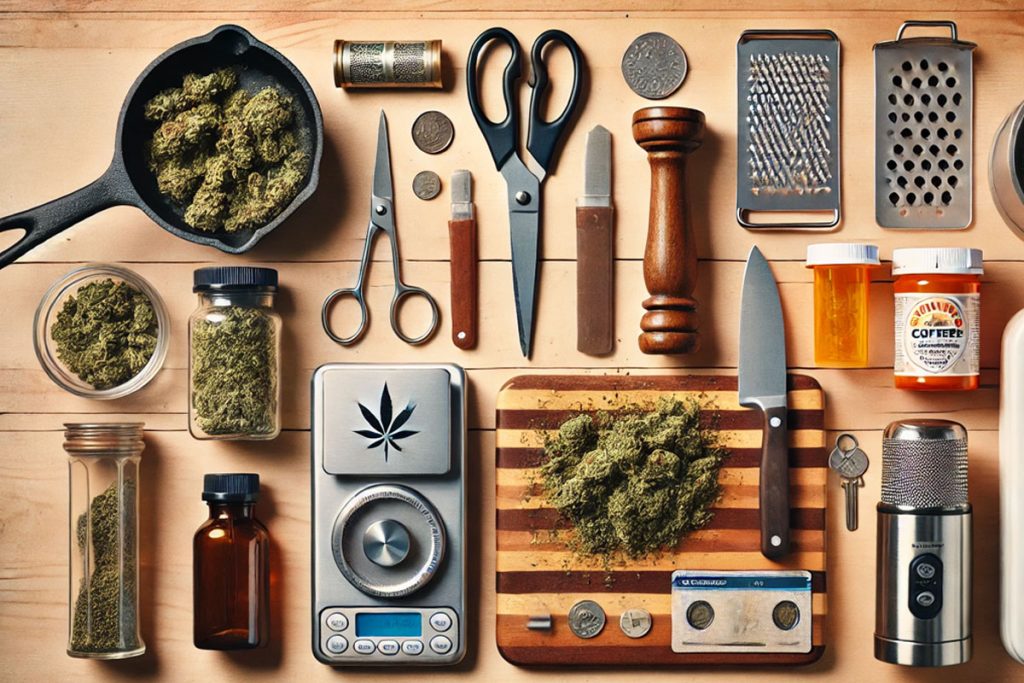
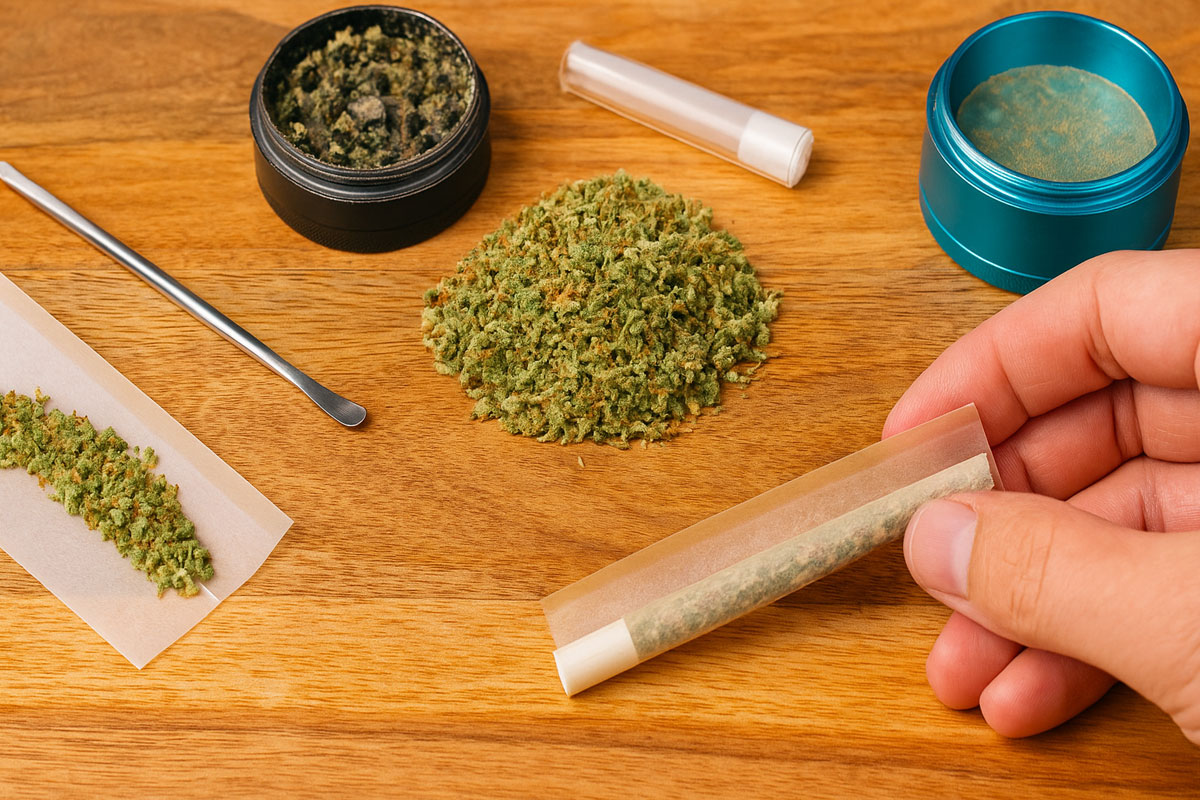
What You’ll Need
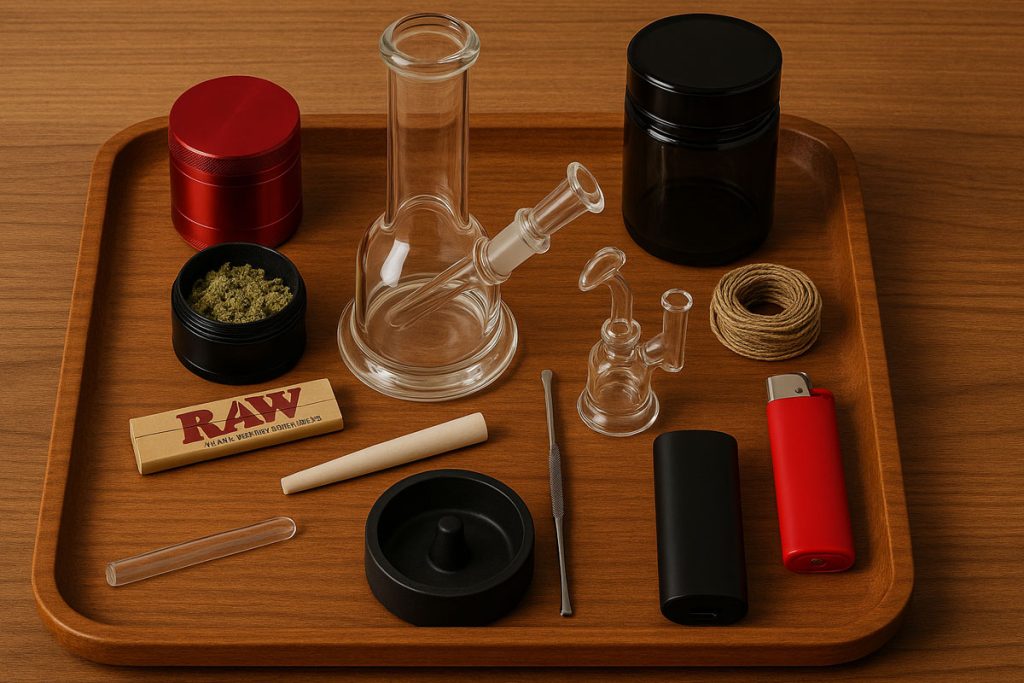
Before you begin, gather your tools:
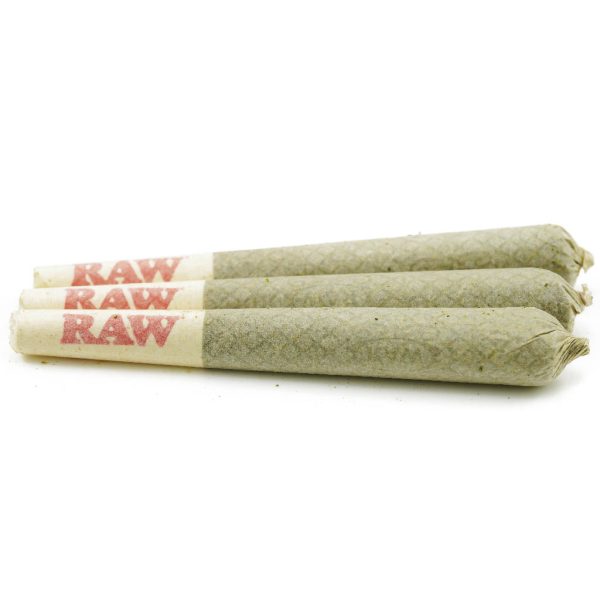
✅ Rolling Papers
- Choose a quality brand like RAW, Elements, OCB, or Zig-Zag
- Start with classic 1 ¼ size papers—not too small, not too big
- Hemp, rice, and wood pulp papers each have their burn speed and feel
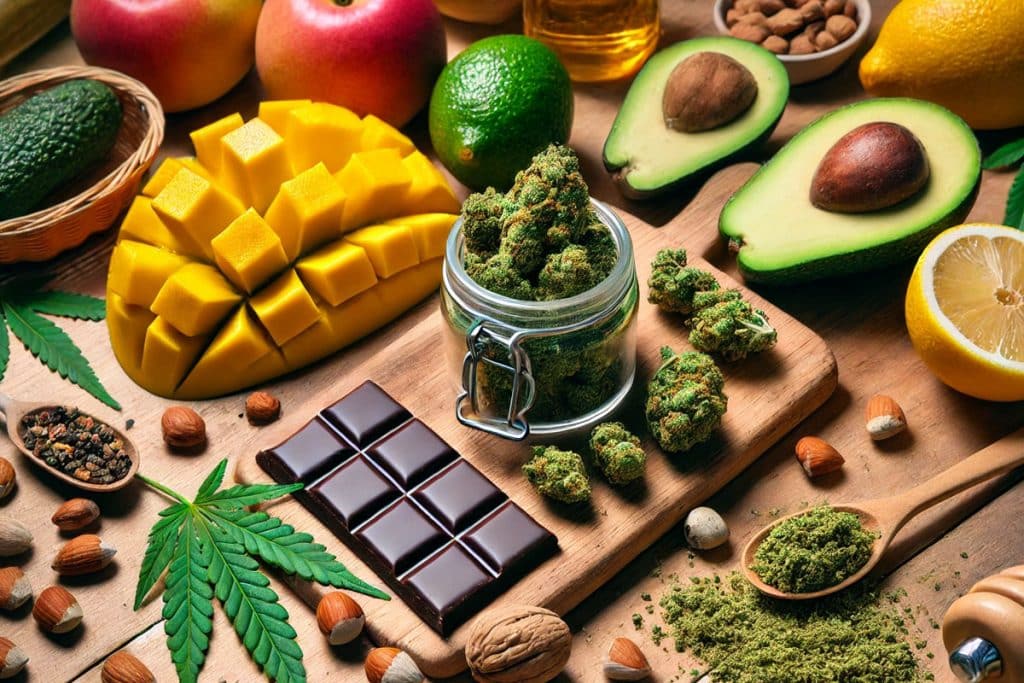
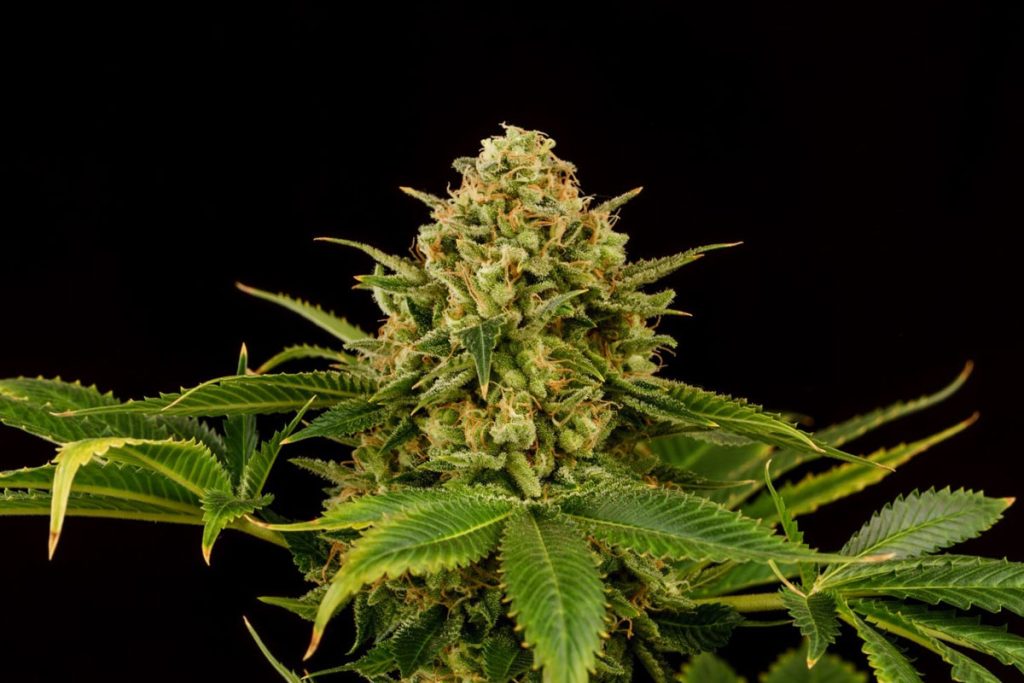
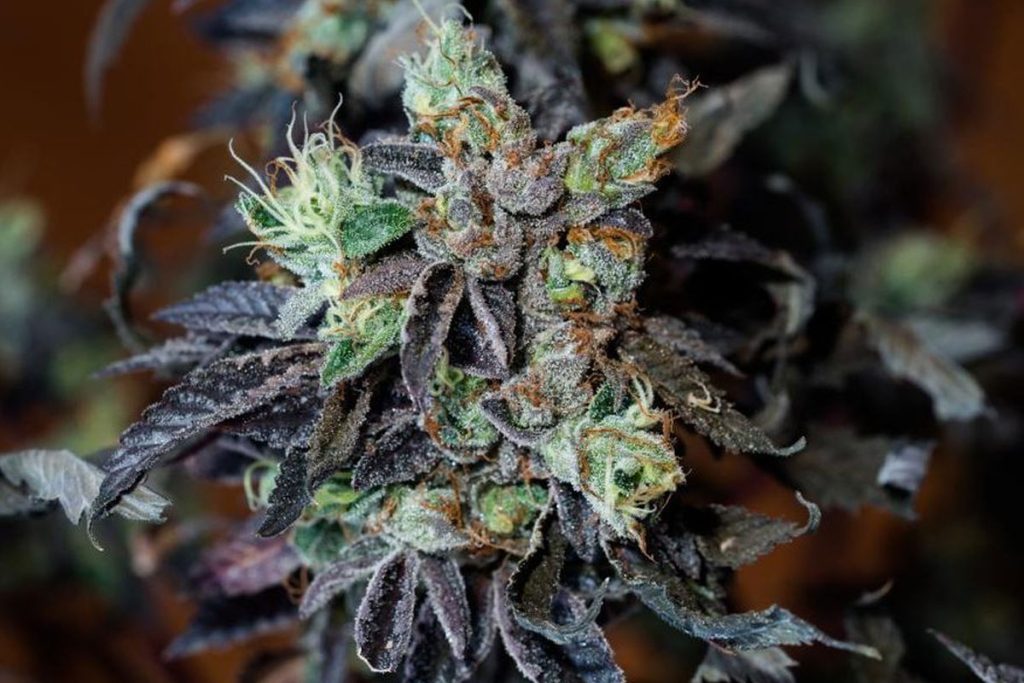
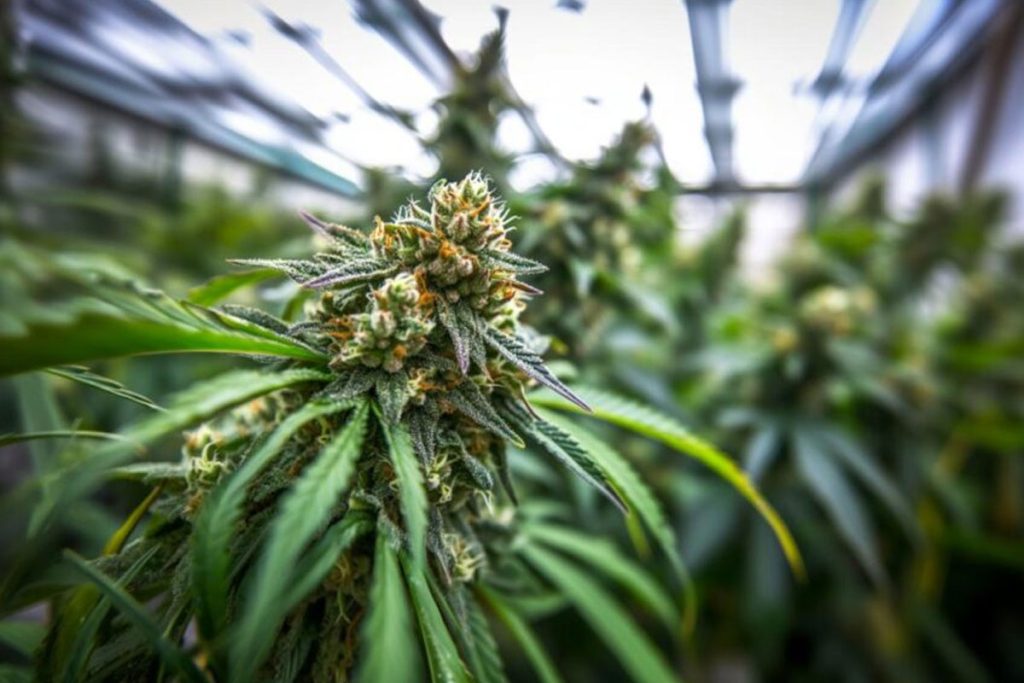
✅ Cannabis
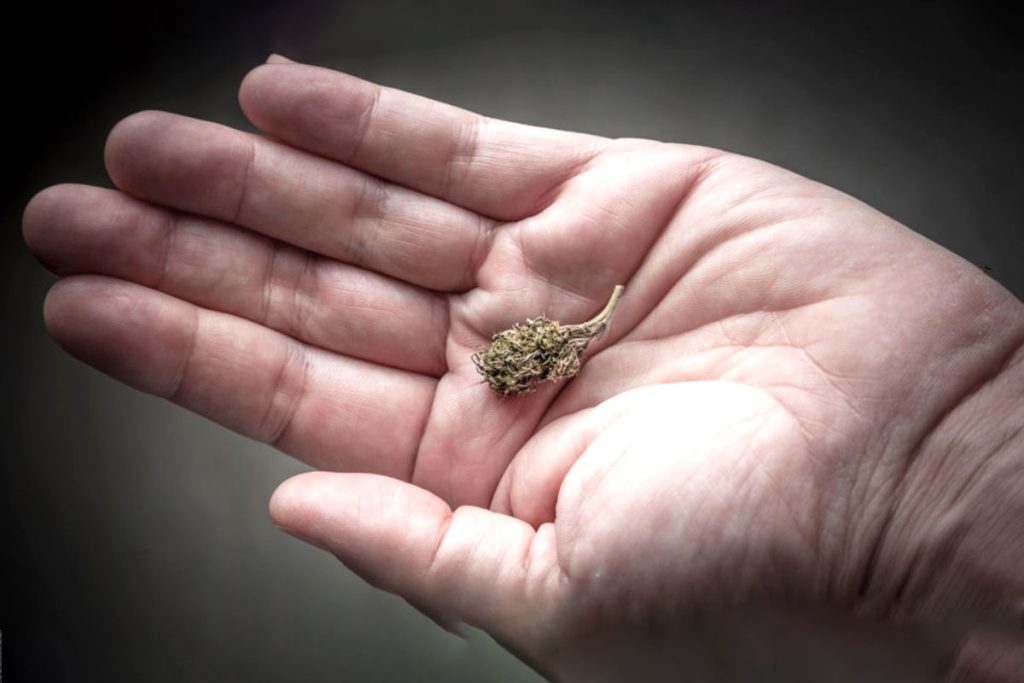
- Ground flower, not too fine, not too chunky
- Sticky but not wet
- Pick a strain based on your mood—energizing (sativa), relaxing (indica), or balanced (hybrid)
✅ Grinder
A four-piece grinder with a kief catcher is ideal. Evenly ground weed burns more smoothly and is easier to roll.
✅ Filter Tip / Crutch
- Prevents herb from falling out the end
- Acts as a handle
- Keeps the joint open and allows airflow
You can buy pre-cut filters or make one from business cards or thin cardboard.
✅ Rolling Tray or Clean Surface
Keeps your weed in place and makes the whole process neater.
Step-by-Step: How to Roll a Good Joint
Let’s walk through the process.
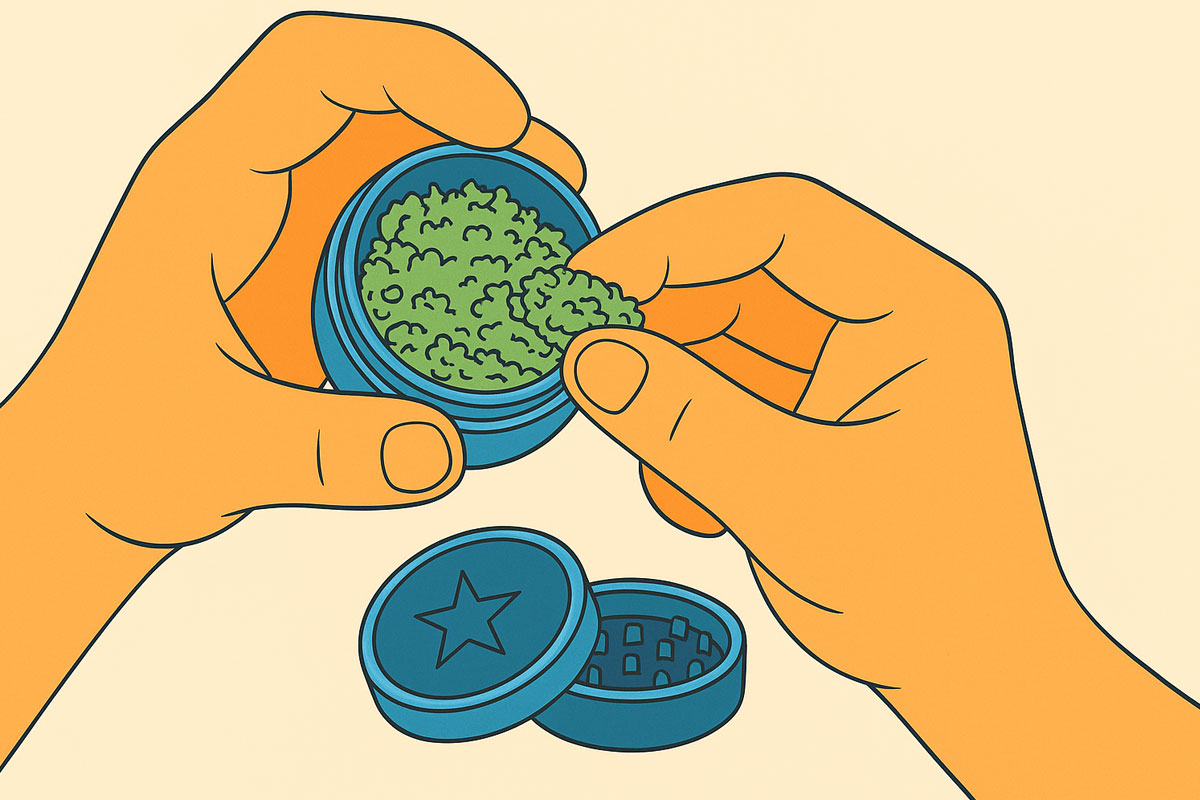
🔹 Step 1: Grind Your Cannabis
Use your grinder to break down the buds until they’re evenly ground—like the texture of dried oregano. Don’t overgrind or you’ll end up with powdery weed that doesn’t roll well.
Pro tip: Remove any stems or seeds. They can poke through the paper or ruin the burn.
🔹 Step 2: Make Your Filter (Crutch)
Often referred to as a “crutch,” a filter lets you smoke your joint down to the very end without burning your fingers or lips, and it prevents loose bits of cannabis from ending up in your mouth. It also gets rid of the need for a “roach”—that leftover tip some people save for later.
To make one, grab a piece of stiff paper—like the flap from a rolling paper pack (many packs include filter tips you can tear off). Roll it into a small, tight cylinder. Make sure the opening isn’t too wide, or you’ll get plant bits in your mouth, but don’t make it so tight that airflow is restricted when you inhale.
Optional: Use pre-rolled tips if you’re feeling fancy (or lazy).
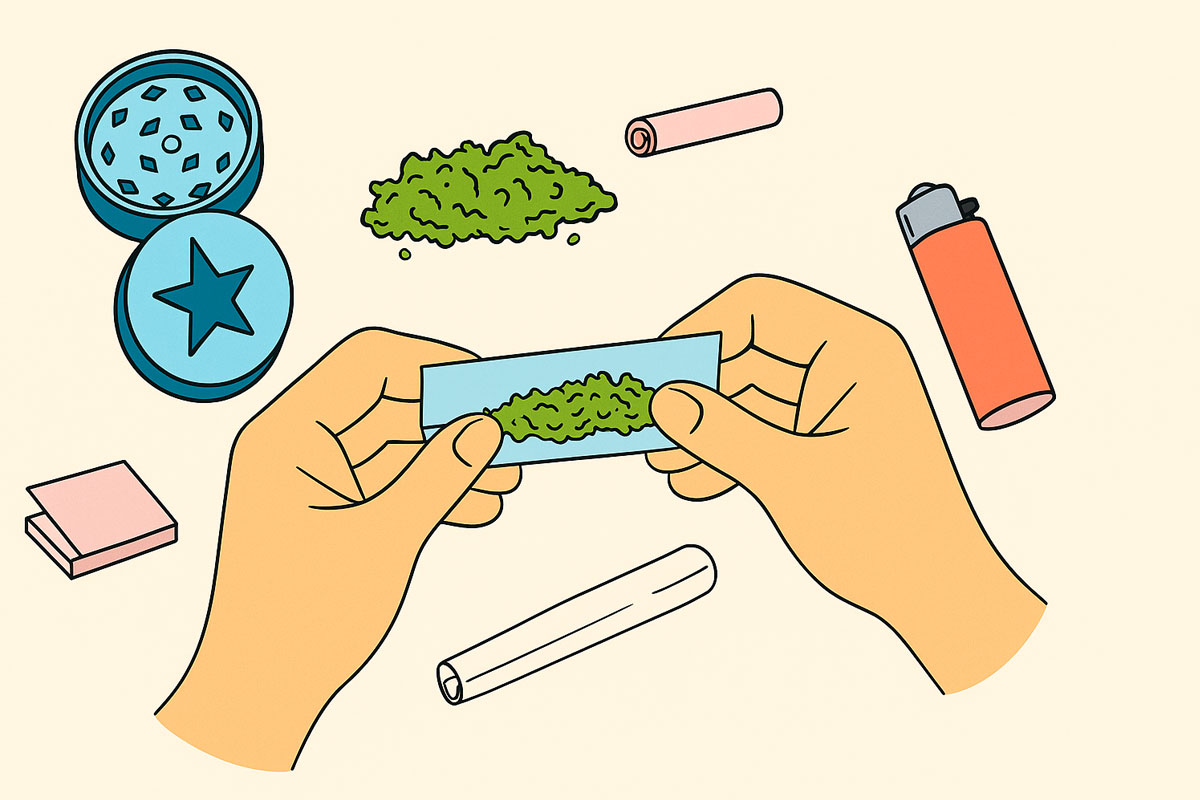
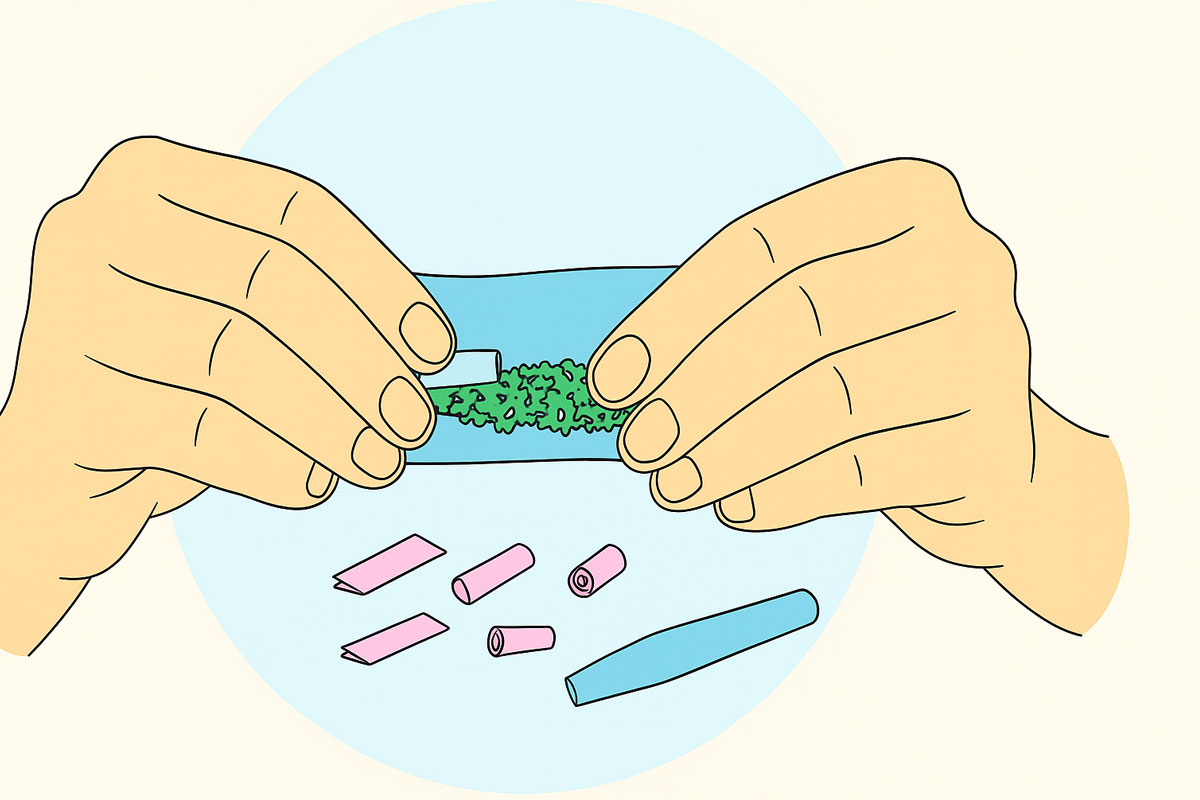
🔹 Step 3: Load the Paper
Hold your rolling paper with the adhesive strip facing up and toward you.
Place the filter tip at one end (usually left if you’re right-handed), and sprinkle the ground cannabis evenly across the paper.
Pack more in the center if you’re rolling a cone, or evenly across if you prefer a straight joint.
Aim for 0.5g–1g of cannabis—enough for a solid smoke but still manageable for rolling.

🔹 Step 4: Shape It
Pinch the paper between your thumbs and forefingers, and gently roll back and forth to pack the weed and shape it into a cylinder or cone.
This step is key—take your time to get the shape and tightness just right. The tighter the pack (within reason), the smoother the burn.
🔹 Step 5: Tuck and Roll
Now comes the real move:
- Tuck the non-adhesive side of the paper around the weed and under itself
- Start rolling from the filter side, working toward the tip
- As you roll, lick the adhesive strip and press it down to seal the joint
Be gentle. Too tight and it won’t pull air. Too loose and it’ll burn unevenly.
🔹 Step 6: Pack and Twist
Use a pen, chopstick, or poking tool to gently pack down the open end.
Once packed, twist the tip closed. This helps preserve freshness if you’re not lighting it right away.
Optional: Add a sprinkle of kief or hash inside for a little extra punch 💥
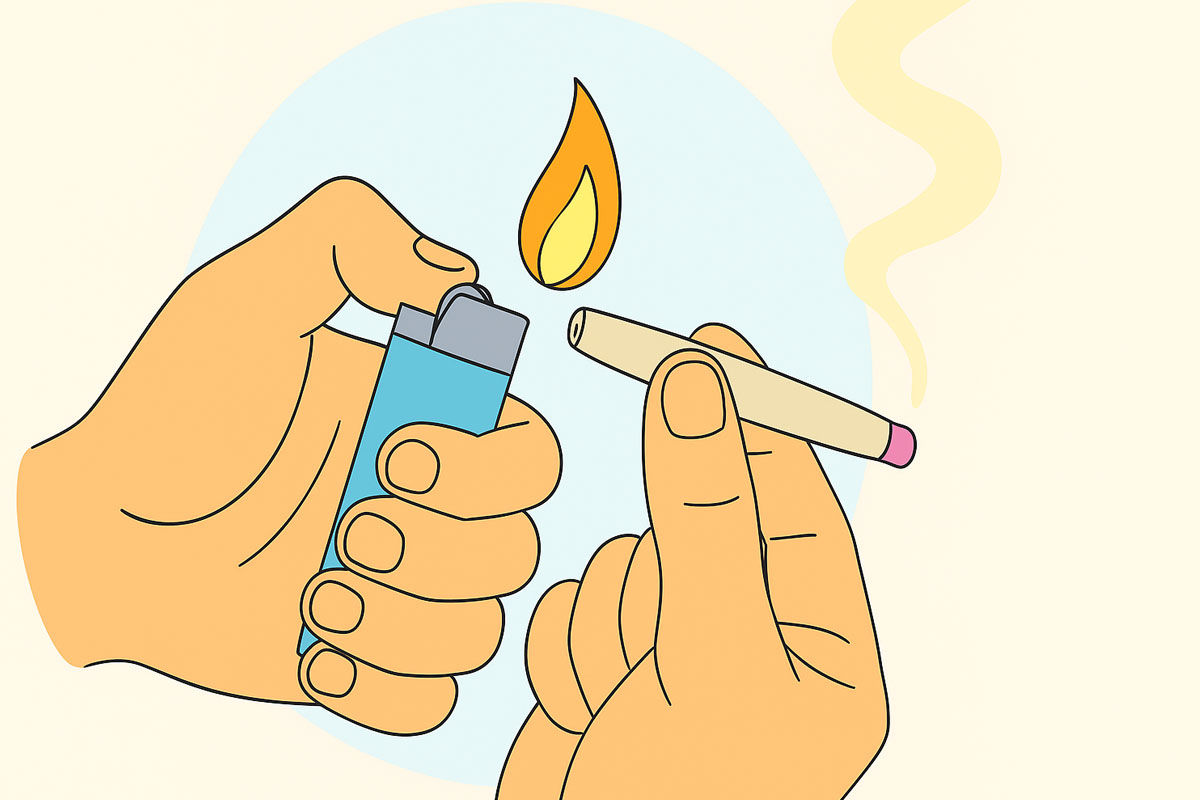
How to Light a Joint Properly
Lighting a joint isn’t just spark-and-inhale.
🔥 Tips for Lighting:
- Hold the flame just below the tip—don’t torch it
- Rotate the joint to get an even burn around the edges
- Take a few dry pulls (no inhale) to get the cherry going
- Once it’s lit evenly, inhale gently
Avoid canoeing (when one side burns faster) by lighting slowly and evenly.
Rolling Styles: Cone vs Straight
Cone Joint
- Tapers from a wide end to the filter
- Burns slower and holds more weed
- Easier for beginners (more forgiving with tucks)
Straight Joint (Pinner)
- Uniform from tip to filter
- Smokes quicker
- Great for small, personal sessions
Experiment and find your favorite. Cones are a crowd-pleaser, but pinners are perfect for microdosing or on-the-go tokes.
Tips for a Better Burn
Rolling isn’t just about shape—it’s about the quality of the smoke. Here’s how to roll a joint that burns smooth and even:
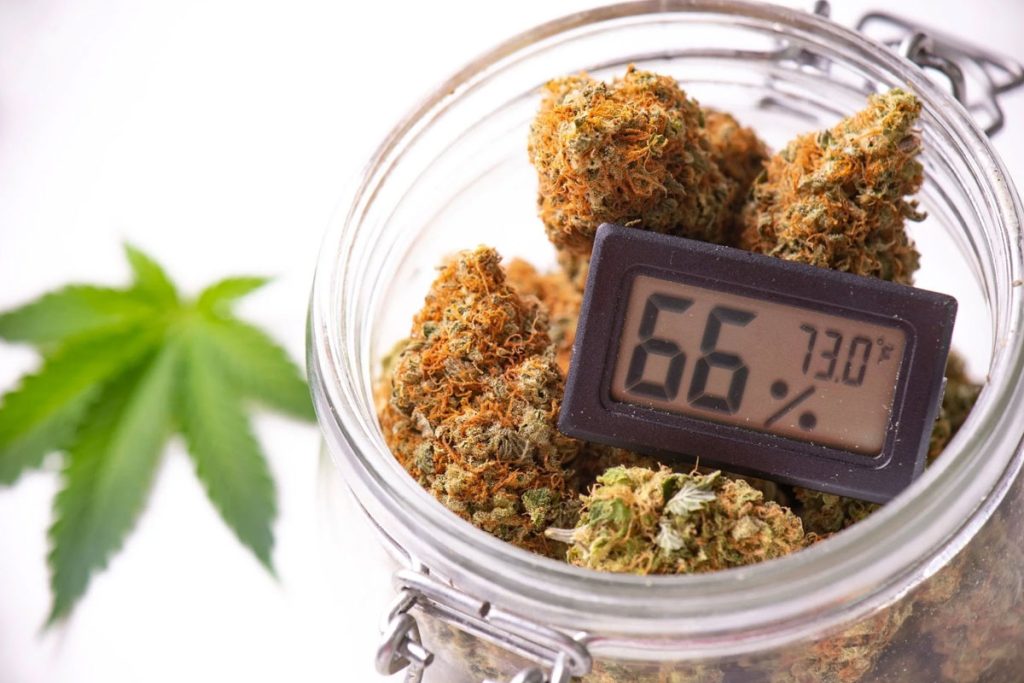
✅ Use Fresh Weed
Dry weed crumbles too much. Sticky, well-cured bud rolls best.
✅ Avoid Overpacking or Underpacking
Too tight = clogged.
Too loose = runs and uneven burns.
✅ Use Clean Hands
Oily or wet fingers can tear the paper or cause uneven rolling.
✅ Dry Your Papers if Needed
Humid conditions can make paper soggy. A quick wave under a lighter can help.
Common Mistakes to Avoid
Even the best rollers mess up sometimes. Watch out for these:
- Too much saliva on the seal – it won’t stick properly
- Gaps in the roll – leads to canoeing
- No filter tip – makes it hard to smoke and easy to lose weed
- Overhandling – joints are delicate; treat them with care
Optional Upgrades
Feeling advanced? Try these tricks to level up your joint game:
🌿 Glass or Ceramic Tips
Reusable, smooth, and cool the smoke.
✨ Infused Joints
Add concentrates like wax, shatter, or rosin inside or roll the outside in kief.
🎨 Creative Rolls
Cross joints, tulips, braids—yes, they exist. Once you’ve nailed the basics, you can experiment.
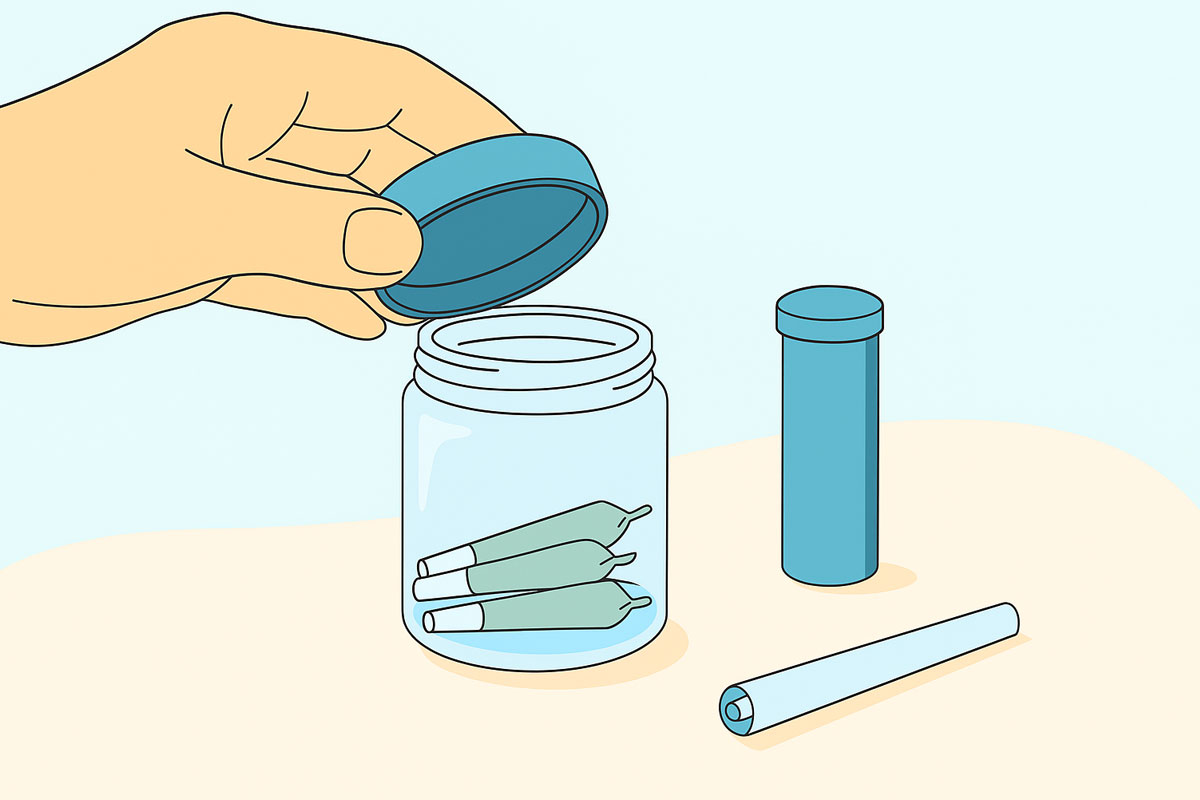
Storing Rolled Joints
If you’re prepping joints for later:
- Store in airtight glass tubes or plastic doob tubes
- Keep away from light and heat
- Use humidity packs if storing long term
Final Puff: Practice Makes Perfect
Rolling a good joint isn’t just a skill—it’s a craft. And like any craft, it improves with repetition.
If your first couple of joints turn out lumpy or loose, don’t sweat it. You’ll get better with each attempt. Soon, you’ll be rolling with your eyes closed and impressing everyone at the sesh.
So grab your papers, grind your bud, and get to rolling. 🍃
Happy smoking!
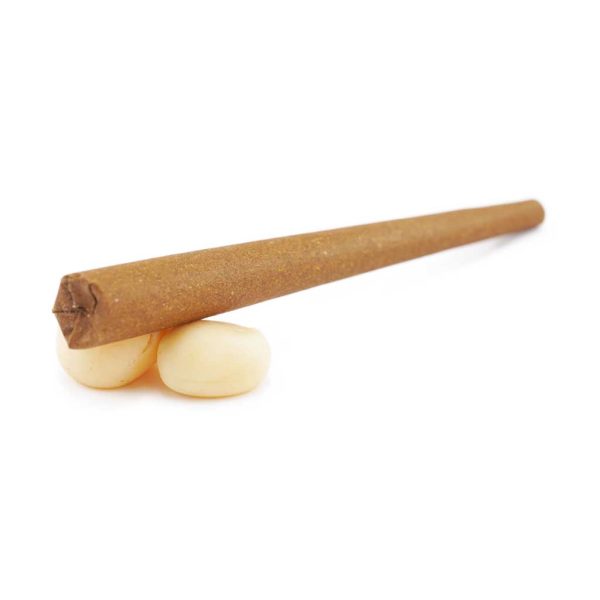
Or Simply buy Pre-Rolls from MMJ Express for the smoothest experiences