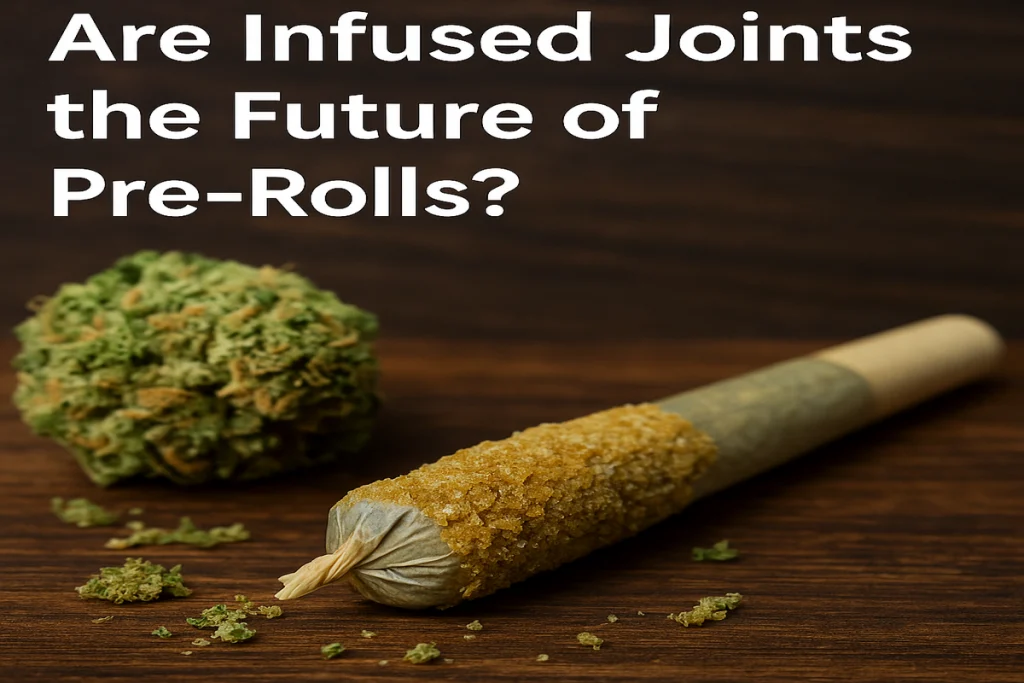
How to Roll a Joint Like a Pro: Step-by-Step for the Perfect Burn
By diving into the world of cannabis or reinforcing your knowledge of how to smoke, you would really master how to roll a joint is one of the ultimate learning skills. We know that nothing beats a good, well-rolled joint that burns and hits smoothly, and it’s here where nothing compares to thin rolled joints like they have here at MMJ Express. From learning how to ride for a first-timer to fine-tuning your technique for those who are a more seasoned rider, this guide will guide you through the in its entirety so that anything you roll out of can be a pro.
 Understanding the Basics of Joint Rolling
Therefore, let us understand the foundations before we go to the nitty gritty of the how to roll a Joint basics. The first step to having some joint rolling basics is knowing your materials, understanding different techniques and working your way to perfection.
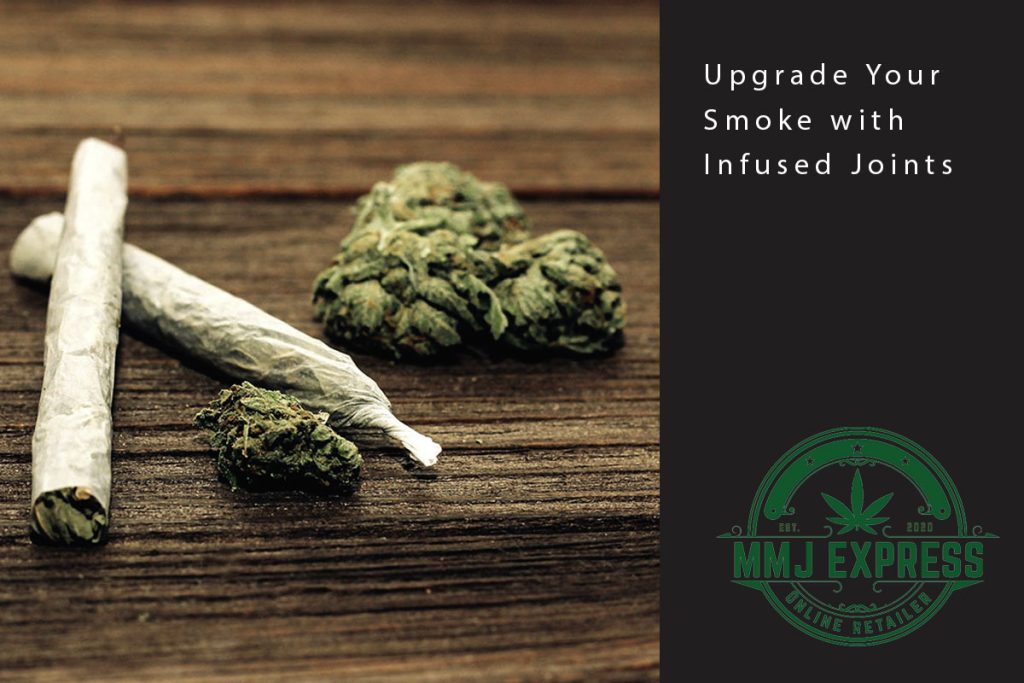
Perhaps the most classic and discreet way of smoking weed joints is with them — a portable, convenient method of cannabis consumption. Making a good joint isn’t only about functionality but about making it, that is, a craft, consistency and a personal touch.
Rolling your own joint also allows you full control over the size, whatever strain you like, and shape. When deciding what kind of personal joint or fat cone smoke you want to eat your cannabis in, part of the fun of smoking is the fact that you can do so in the way that makes the most sense to you.
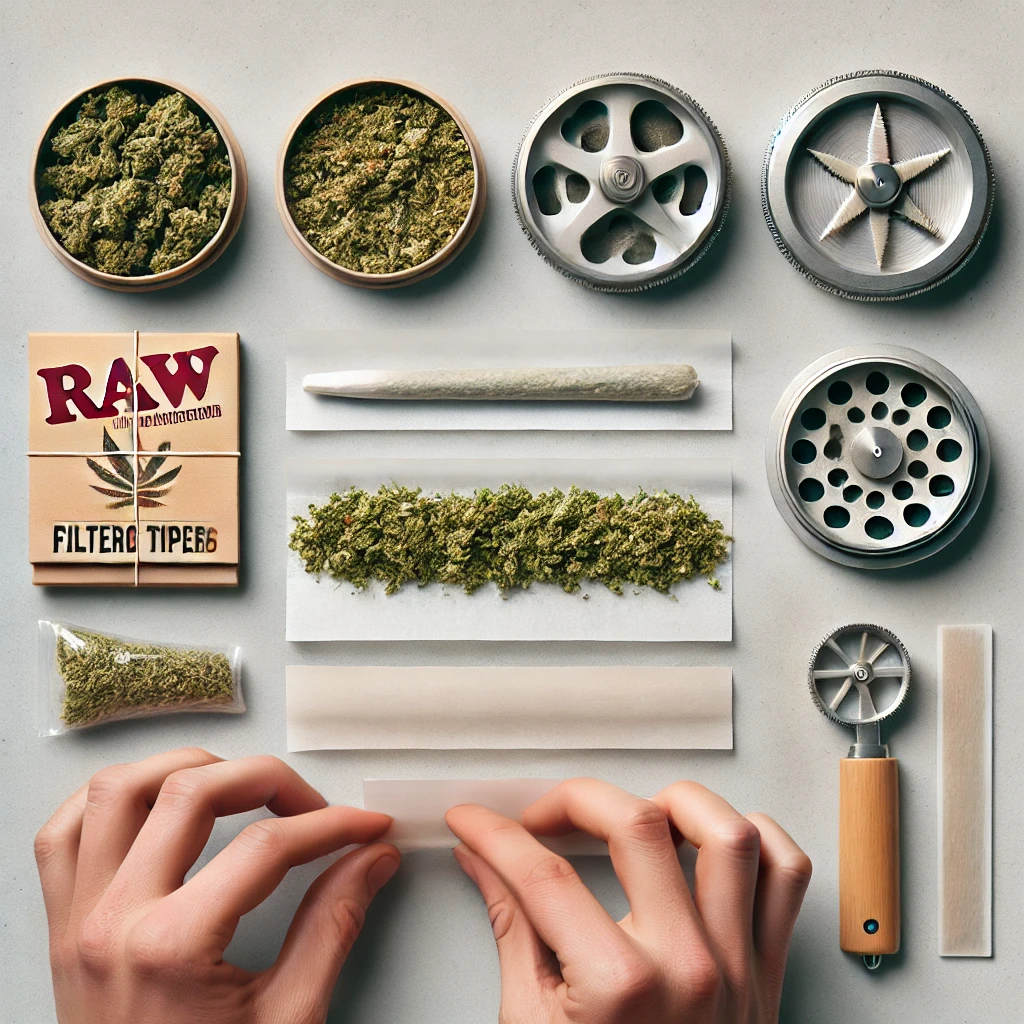
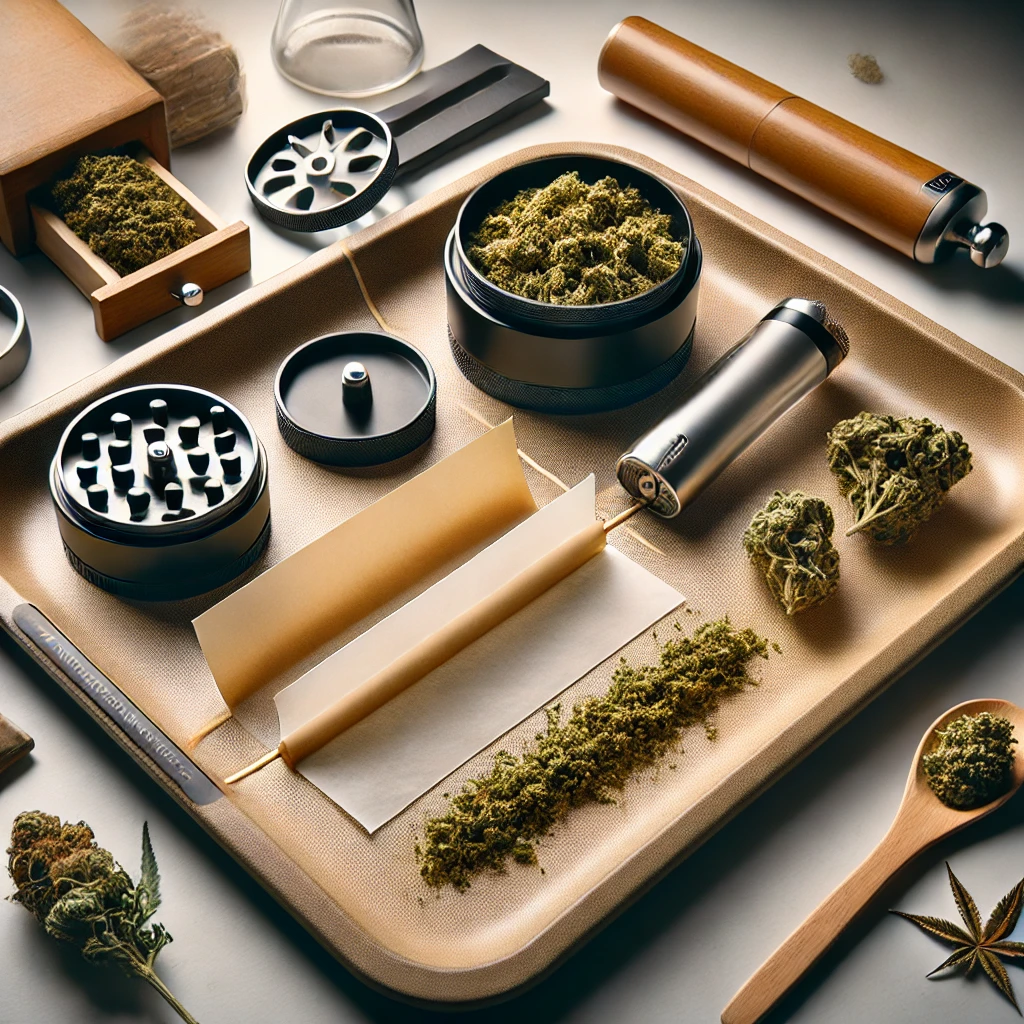
What You Need: Cannabis Rolling Essentials
First and foremost, you need to gather the right cannabis rolling essentials in any successful joint rolling tutorial. Here’s what you’ll need:
- Rolling papers – Pick up quality papers that match your taste in smoking. Rice, hemp, and flax papers can be the options.
- Filter tips or crutches for joints – However, this structure also affects airflow.
- Grinder for weed – Make sure the grind is always fine enough for rolling.
- Joint rolling tray – It helps keep all things neat and contained for the duration of the process.
- Optional tools: Poking stick, card for packing and rolling machine (especially good for new users).
Getting frustrated with quality in the final product should be avoided by using quality tools from the get-go.
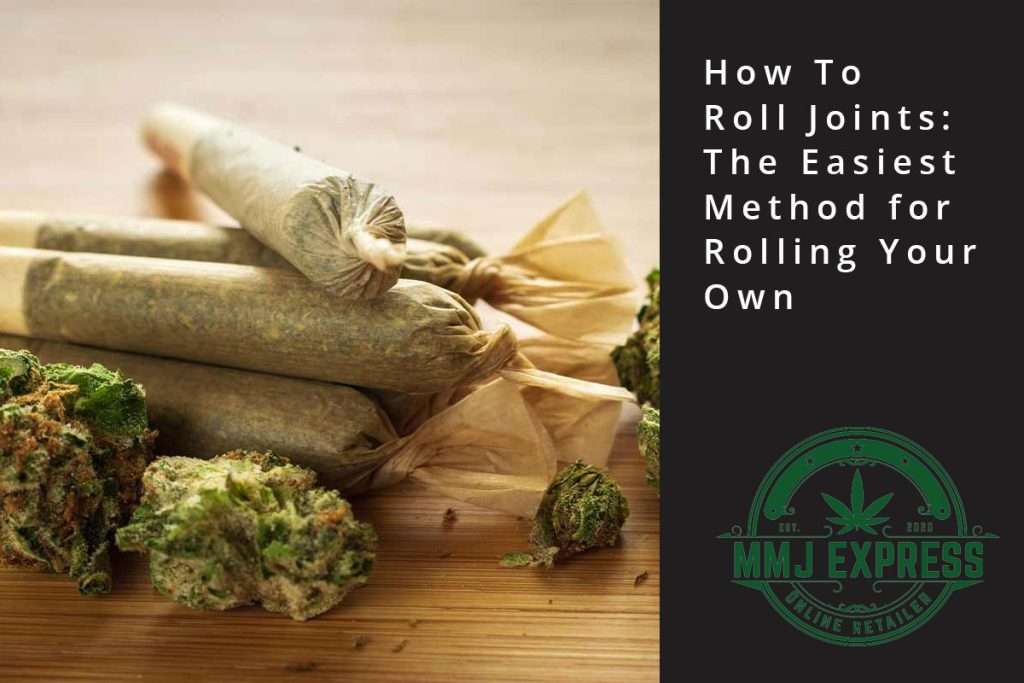
 Step-by-Step Joint Rolling: From Bud to Burn
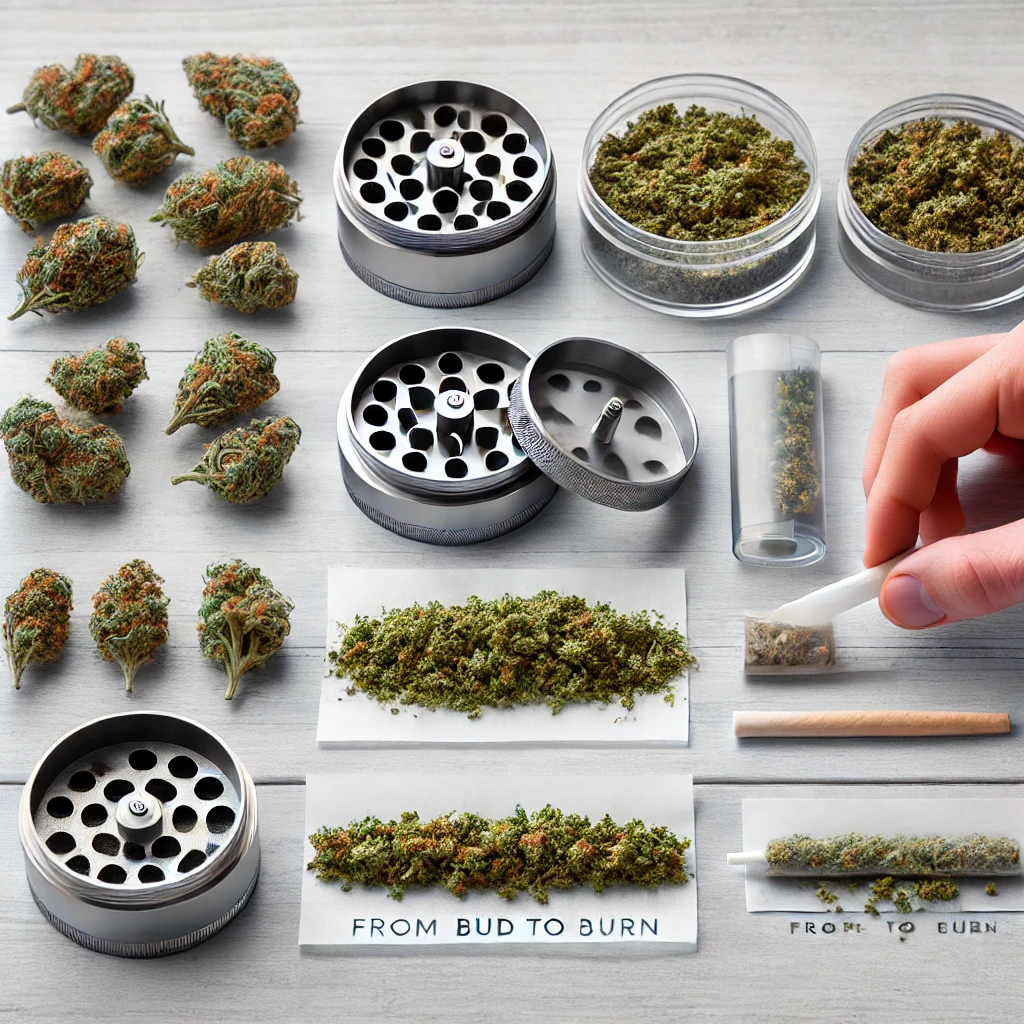 Step-by-Step Joint Rolling: From Bud to Burn
With us break down the step by step joint rolling process so a beginner will be able to where to start. Each step of this beginner joint guide will help you.
Step 1: Grind Your Weed
Your grinder for weed serves two (or preferably three) purposes: first, to break your cannabis down to a fine, fluffy consistency, to manage your herbs (or tobacco) with, and best of all, third, for a pop-out banger, convenient for you to pop out a nice smoke of leaf. That’s why an even burn joint and a smoother experience are possible. A grinder is consistent out the window and absolutely necessary.
Step 2: Prepare the Filter Tip
Roll a piece of stiff paper to form a filter tip or crutch or use a pre-made tip. It will protect you from entering accidently into your mouths, and help with structure. The rolling with a filter allows easier handling and passing the joint, and provides an increase in airflow.
Step 3: Fill Your Rolling Paper
You will need to place the filter on one end of this rolling paper and sprinkle your ground weed evenly across this paper. To get maximum benefit 0.3 to 0.7 grams is all you need, ranging on your tolerance. Rolling a tightly rolled joint is all about consistent distribution, which also prevents canoeing joints.
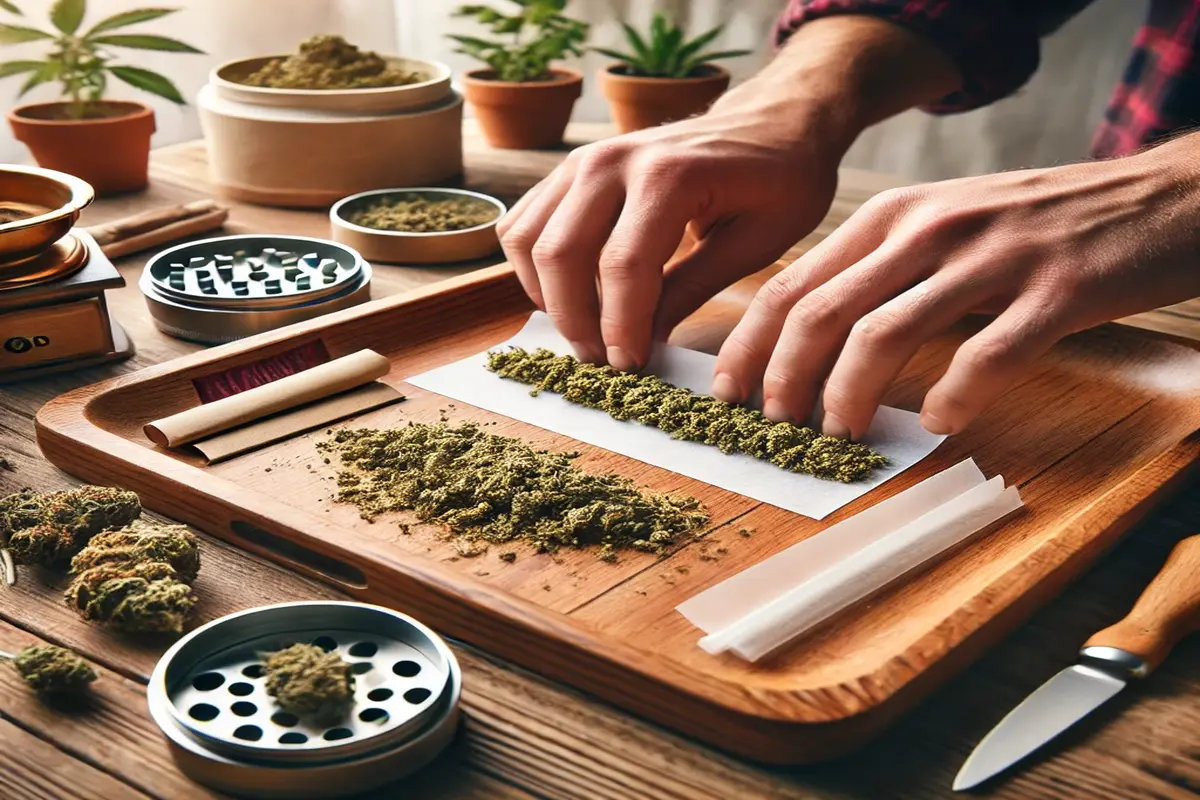
Step 4: Shape and Roll
Shape the cannabis with your finger on cylinder. Roll the paper back and forth, begin to pack it and shape the joint. The art is in perfect joint tuck and roll here and practice makes perfect.
Step 5: Tuck and Seal
Shape the joint then tuck the side of the paper that was unglued over the weed roll it tightly sealing the edge with moisture. Well done, you are learning how to roll perfect joint. It has to be neither too tight nor too loose, it has to be balanced.
Step 6: Pack and Finish
Pack the open end with a stick or pencil to ensure a consistent burn. Twist the end closed. If you use these joint packing tips, you should always get a joint that burns slowly and smoothly.
Advanced Techniques: Take It to the Next Level
If you already know the basics of how to roll a joint, skip ahead to the description of the accessories. Try out these creative methods:
- Cone joint rolling – Short and wide at the end, narrow at the mouthpiece. Great for longer burns and group sessions.
- Tulip joint tutorial –This is a stylish, high-capacity joint for special occasions or parties.
- Backroll joint technique –It uses less paper and produces cleaner smoke with less ash.
These bring a touch of flare and personalization to your smoke as well as a new sense of joint etiquette to be added to the circle. But most importantly these methods are functional and also display your expertise in joint craftsmanship.
Tips for the Best Joint Experience
If you’re after the smooth smoking joint, you can use these stoner tips and tricks right here:
- Do not overpack or underpack the paper.
- Also, weed should be distributed evenly for an even burn joint.
- A good tool for this would be a joint rolling tray that will prevent spillage and keep things neat.
- Use quality papers and filters and, of course, use quality flowers.
- Lip moisturize before sealing to give a neat lipstick.
- Wait one minute before lighting your rolled joint to allow it to settle.
Avoiding Common Joint Rolling Mistakes
A mistake that everyone makes when they learn how to roll a joint. Here are a few to avoid:
- Cases involving smoking too much or too little cannabis.
- Dry or moist rolling papers.
- This ended up with an uneven roll rushing in the process.
- Undervaluing the need for a good in-tip filter.
- Also, they did not seal the paper properly, and thus, it was unwrapped as they smoked.
Awareness of these pitfalls will give you a more positive experience and will allow you to learn faster.
 Learn to Roll Joints Like a Pro
 Learn to Roll Joints Like a Pro
Getting stoned is not all about getting high; it’s a matter of rite of passage in Cannabis culture, and it is necessary to learn how to roll a joint. Creating your own joint has an intrinsic satisfaction to it, and a small taste with friends is perhaps the most pleasurable of all time. Practicing makes perfect, and whether you’re using this as a weed rolling guide or you’re taking up a new hobby of DIY cannabis joints, the better you will be.
At MMJ Express, we sell premium flowers, rolling papers, grinders and other cannabis rolling essentials. With all that said, we’ve done our best to provide listings that could help you practice, prepare, or impress anybody within arms reach with a few rolls.
Learning how to roll a joint gives you some control over your smoke, saves you money and lets you sport the title of level 5 ‘roll master’ in any session. It helps to familiarise yourself with cannabis consumption methods and familiarises you with the hands-on part of the weed culture. Targeting this is easy; practice, experiment, and don’t be afraid to innovate.
Ready to elevate your role? Find all you need for a perfect burn through the tools with MMJ Express.